The short answer
Steam the garment, shoot it in soft, even light against a plain background, and keep the camera in one fixed position so every product in your store looks the same. For each item, take a front, a back and close-ups of the details. If the photos will also become source images for AI on-model photos, shoot them large, ideally 2,000 px or more on the long side, with true color and every detail visible.
Pick a method
| Method | What the buyer sees | What you need | Good for |
|---|---|---|---|
| Flat lay | The whole garment from above: shape, print, details | A plain surface, a window or two lights, a way to shoot from overhead | T-shirts, kids' clothing, sets, accessories, small catalogs |
| Hanger | The garment hanging, front and back | A plain wall, a slim neutral hanger, a hook at camera height | Shirts, dresses, outerwear, quick catalog shots |
| Mannequin or ghost mannequin | Shape and volume, no person | A mannequin and, for the ghost effect, editing time | Structured pieces and uniform catalogs; see our ghost mannequin guide |
| On a model | Fit, length and movement | A model, a stylist and a studio day, or AI on-model images made from the photos above | Most adult clothing on Amazon, brand pages, social |
The first three you can do at home. For a closer comparison of the formats, see flat lay vs ghost mannequin vs on-model.
How to take flat lay photos of clothes, step by step
1. Choose the surface
Use a large sheet of white or light gray matte board, paper or a clean, light floor. Matte matters: glossy surfaces bounce light back into the lens. The surface should be bigger than the garment on every side, so you have room to crop later.
2. Set up the light
A large window is the easiest start. Shopify's product photography guide suggests setting up next to a window, keeping harsh direct sunlight off the set, and turning off every other light in the room, because other light contaminates the set. Put the window on one side and a white foam board on the other to fill in the shadows.
If you shoot often, two soft lights at about 45 degrees on either side give the same result at any time of day. Amazon's clothing style guide asks for garments photographed in natural or soft continuous light.
3. Steam and prep
- Steam out every crease, including the folds from packing.
- Lint-roll both sides, especially dark fabrics.
- Remove tags, loose threads and plastic.
- Button, zip and tie the garment the way it will be worn.
Amazon's guide sets the same standard for its flat main images: properly steamed and free of loose threads and fabric imperfections.
4. Style the garment
- Square the shoulders and line up the side seams. Amazon's guide describes the same method for flat lay-downs: pins and liner or stuffing, using the seams as a guideline, symmetrical from left to right.
- Add a little volume with tissue paper inside the body, so the garment doesn't look pressed flat.
- Place the sleeves along the body or angled slightly out, and do it the same way for every product.
- Pin at the back, not the front, and never pin a garment into a shape it doesn't have.
- Fold trousers so both legs and the waistband show.
5. Set the camera height and angle
Shoot from directly above, with the camera parallel to the surface. A tilted camera makes one end of the garment look wider than the other. Use a tripod with a horizontal arm, or stand on a step stool.
To fit the garment in the frame, raise the camera instead of moving closer with a wide lens, which distorts the edges. On a phone, use the standard lens or an optical zoom lens and skip digital zoom: Shopify notes that digital zoom simply crops your image and reduces quality.
6. Lock your settings
- Highest image quality, or RAW if your camera has it.
- Flash off and ISO at 100, as Shopify's guide recommends.
- White balance set from a white or gray card in your light, then kept fixed.
- The same exposure, height and framing for every product.
7. Shoot the full list
For every product, and every colorway:
- Front, the whole garment.
- Back, the whole garment.
- Neckline or collar.
- Fabric close-up that shows the texture.
- Print, logo or embroidery.
- Hardware: zippers, buttons, snaps.
- Label and care tag.
- Anything buyers ask about: pockets, slits, lining.
8. Edit lightly
Crop every image to the same aspect ratio, clean up the background, and correct color against the real garment in daylight. Don't smooth away texture or reshape the garment. Amazon's guide asks sellers to avoid heavily retouched images and not to add filters, borders, collages or watermarks.
Hanger and mannequin shots
On a hanger. Hang the garment from a hook on a plain wall, with the middle of the garment at camera height. Use a slim, neutral hanger. Steam it in place, clip extra fabric at the back, shoot straight on, then turn it around and shoot the back from the same spot.
On a mannequin. A mannequin gives the garment volume and a body-like shape. A dress form works for dresses and tops; trousers and sets need a full mannequin. For the invisible-body look, follow our ghost mannequin photography guide.
Shooting photos an AI studio can turn into on-model images
If you plan to turn your flat lays or hanger shots into on-model photos, the source photo is the brief. An AI model can only show what it can read in your photo, so a few details make a big difference:
- Resolution. Ideally 2,000 px or larger on the long side. Small photos lose stitching, print edges and fabric texture.
- Even, soft light. No hard shadows or hot spots. A hard shadow can be read as a fold or a seam.
- True color. Set white balance and compare the photo with the garment in daylight. If a color is hard to capture on camera, write down the real color.
- The whole garment. Sleeves, hem and straps fully in frame, with margin around them.
- Front and back, plus close-ups of print, logo, hardware and stitching.
- A steamed garment. Wrinkles in the source photo can carry over.
- A size chart, so the hem, sleeve and waist land in the right place on the model.
- 1 to 3 reference images of the look you want: mood, pose, setting.
- No filters, no heavy retouching and no busy background, like a bedspread or a patterned rug.
You don't need to ship samples. Our flat lay to on-model service works from photos like these and returns a connected set of 7 on-model photos per product, checked by a person against your garment and delivered within days.
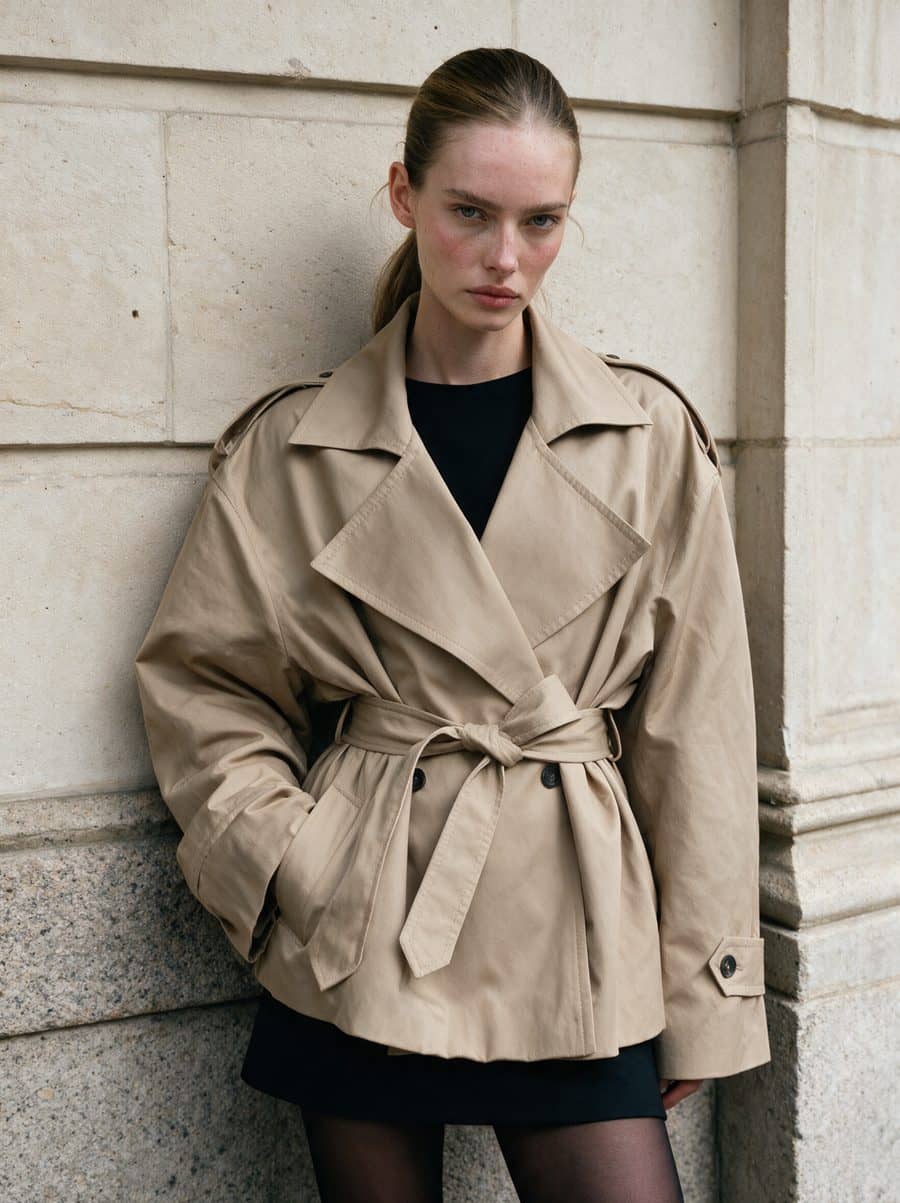
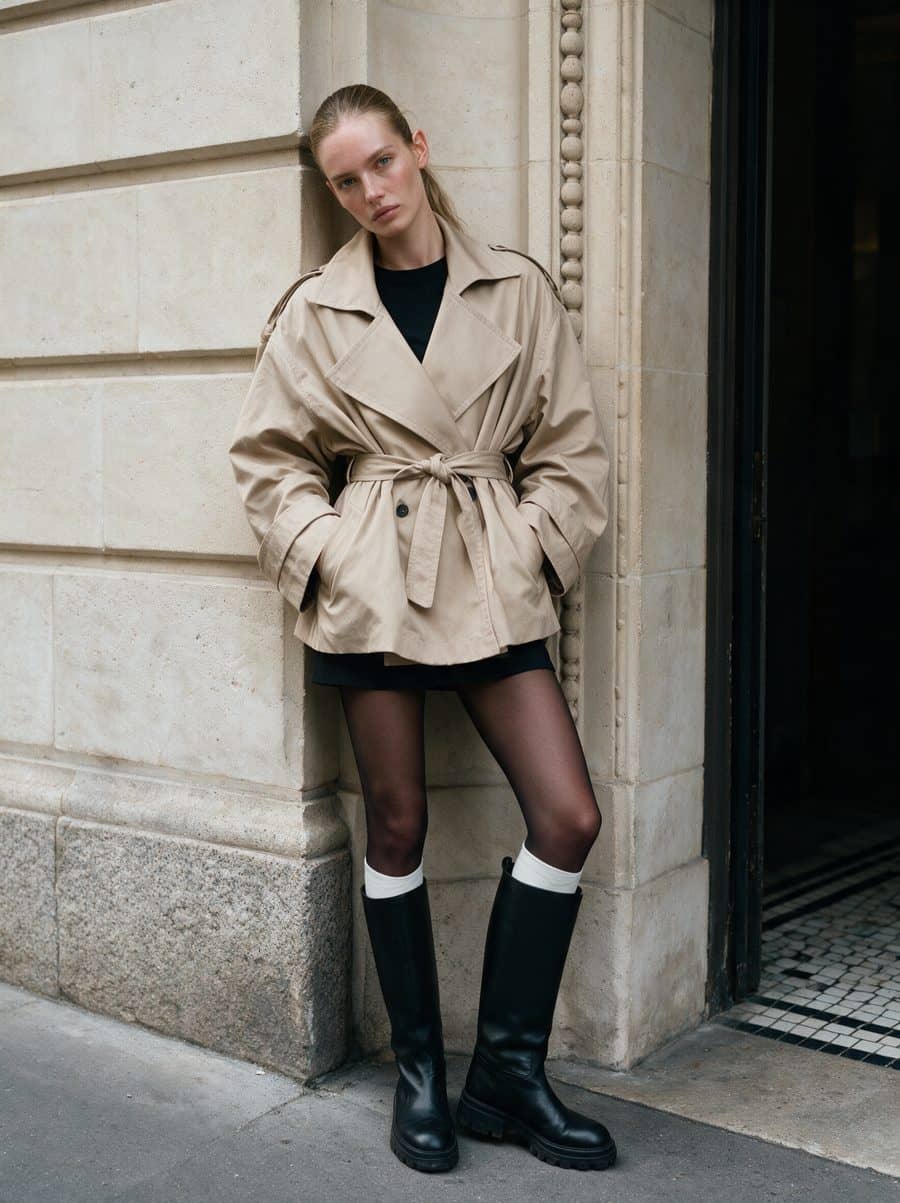
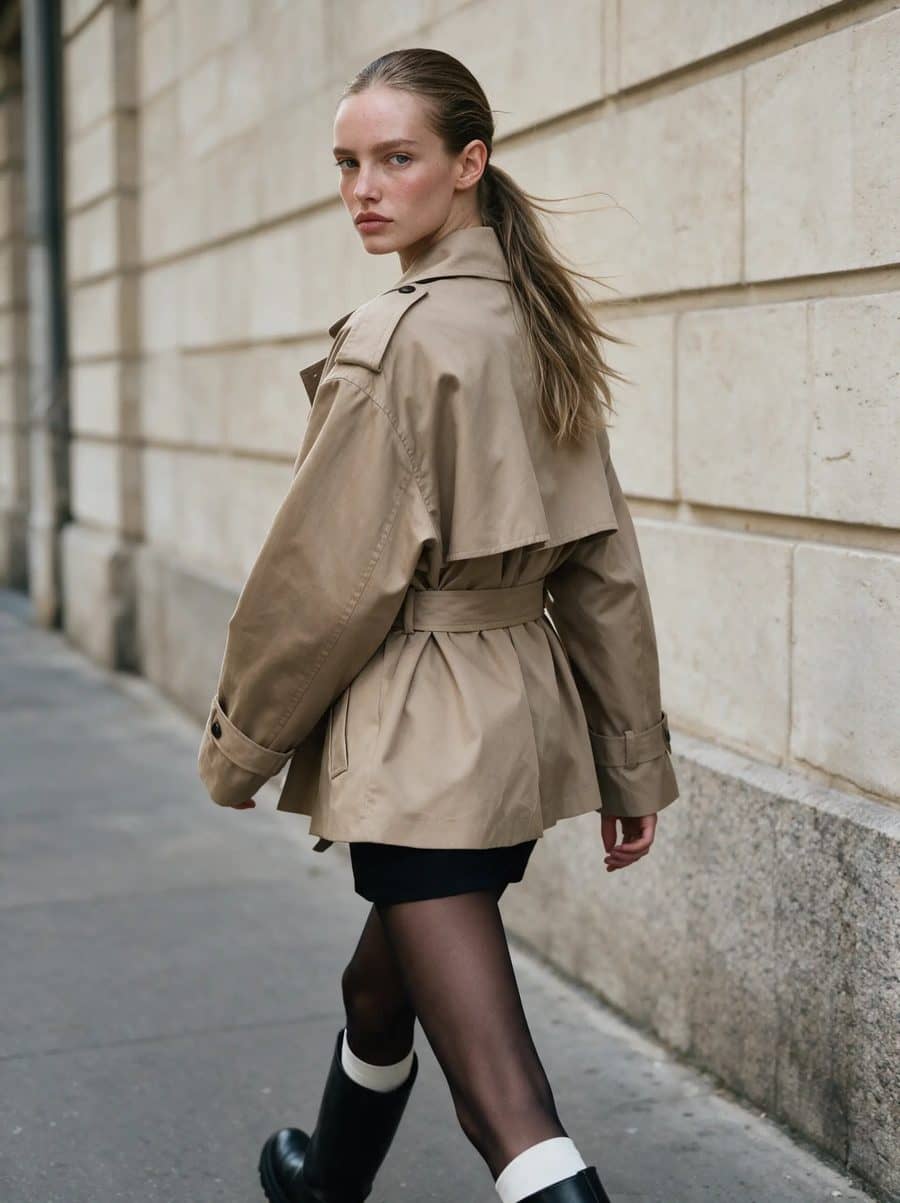
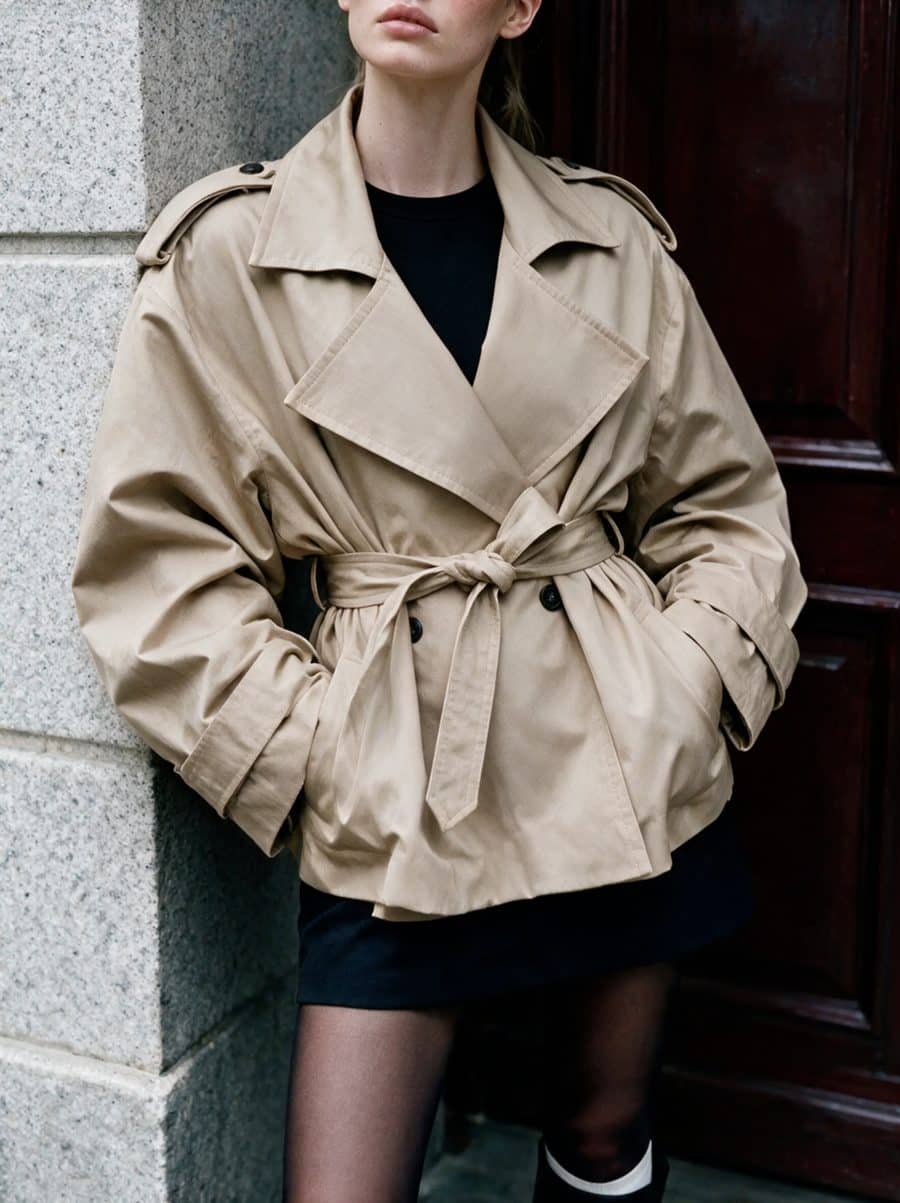
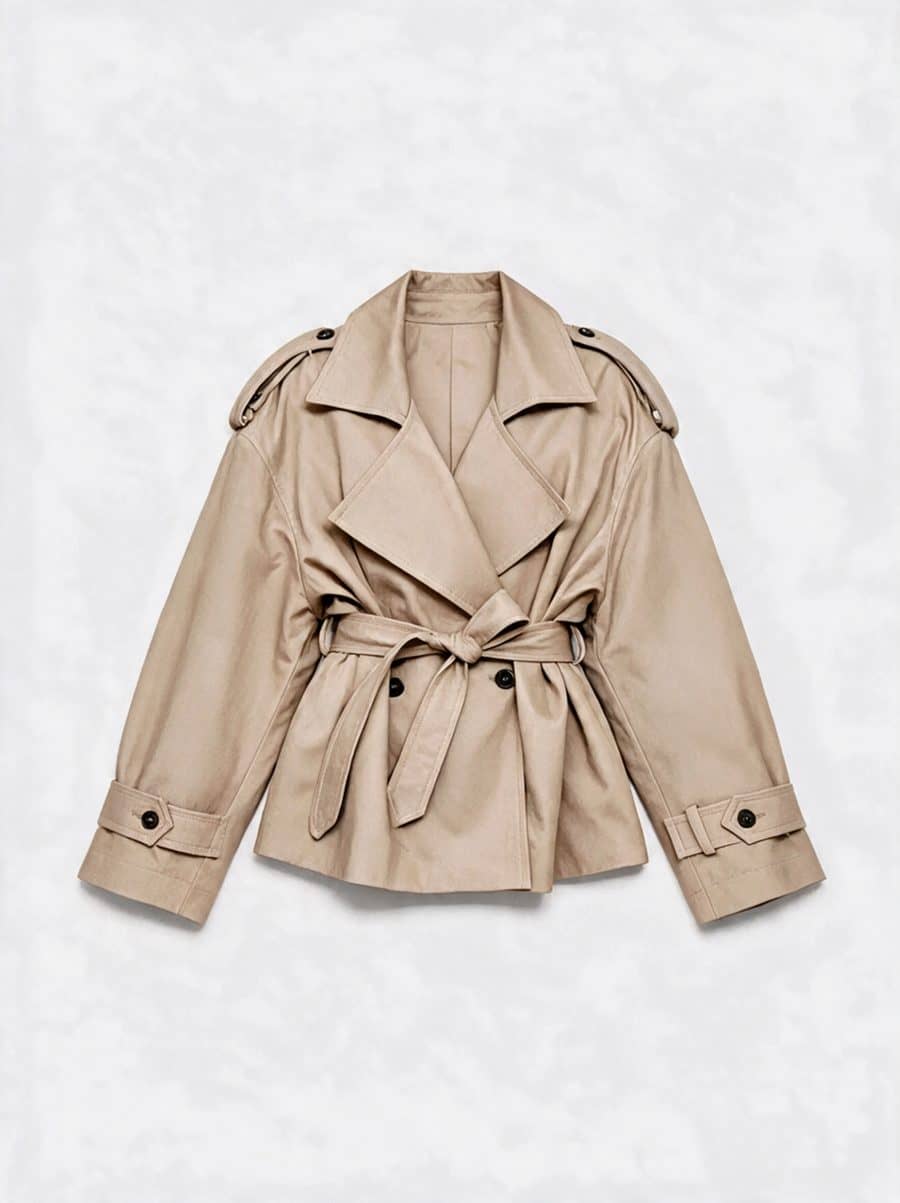
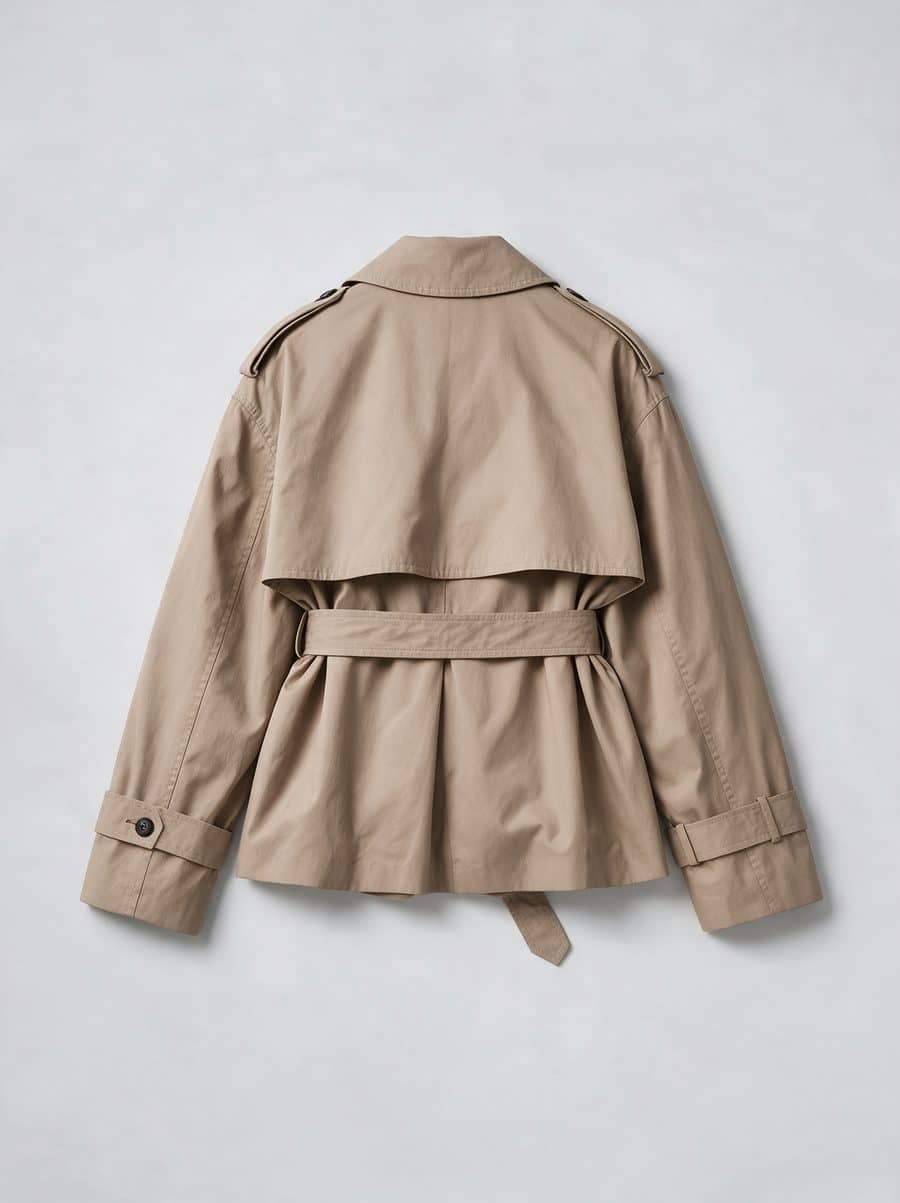
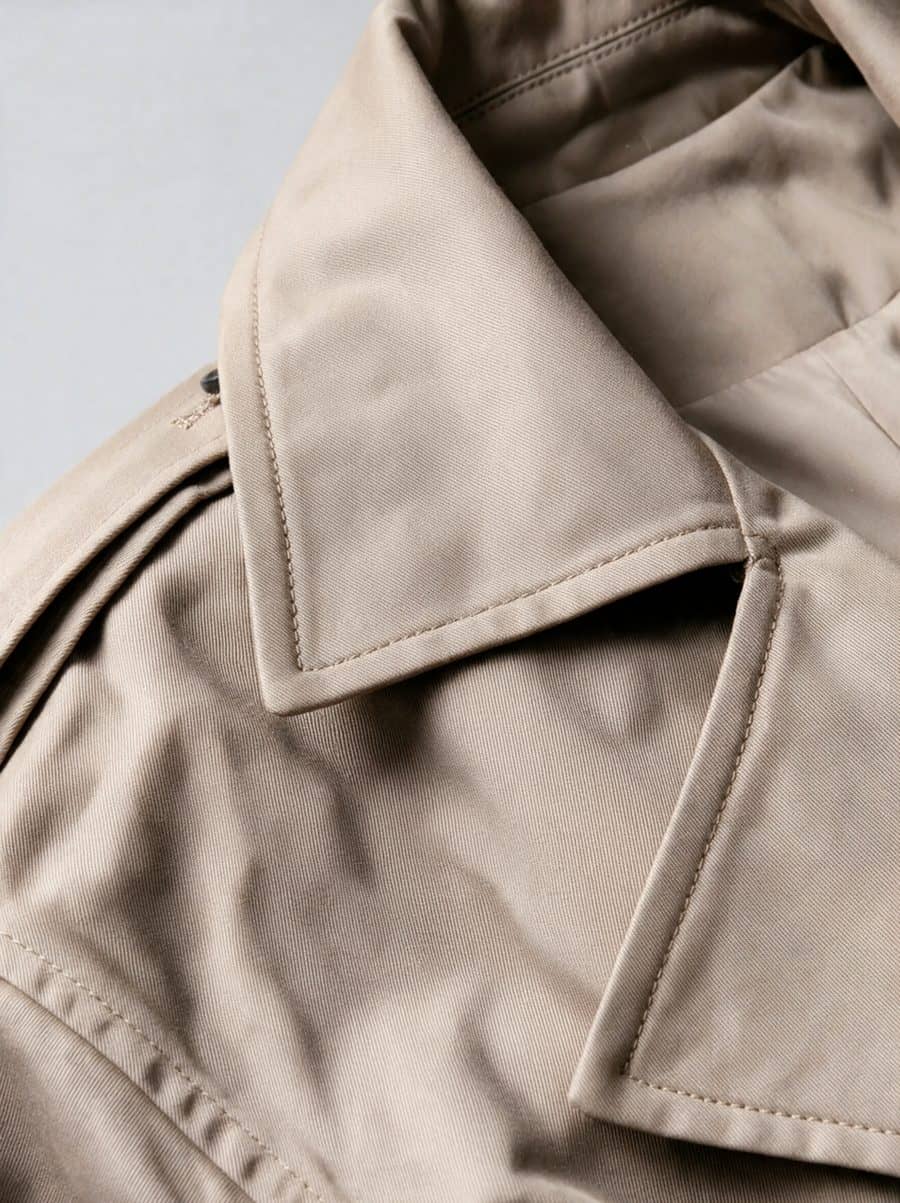
The trench set above is from our portfolio. It mixes on-model frames with a front and back flat lay and a collar macro, so the garment's full shape stays visible next to the fit shots.
Image sizes for marketplaces
Shoot large once, then export for each platform. As of October 2026:
- Amazon: its clothing style guide asks for images at least 1,000 px and no larger than 3,900 px on the longest side, so zoom works. All the rules are in our Amazon clothing image requirements guide.
- Shopify: for square product images, 2048 × 2048 px usually displays best, according to Shopify's product media types page. More in our Shopify product image size guide.
- Etsy: Etsy recommends listing photos at least 2,000 px in width and height, and suggests shooting further back than you think you need, so thumbnails can be cropped without cutting off the product.
Checklist
Before the shoot
- Garment steamed, lint-rolled, tags and threads removed
- Plain matte surface or wall, larger than the garment
- Soft, even light; other lights in the room off
- Camera on a tripod, ISO low, white balance set, flash off
During the shoot
- Front and back of every product and colorway
- Close-ups of neckline, fabric, print, hardware and label
- Same height, distance and framing for every product
After the shoot
- One aspect ratio for every image
- Color checked against the garment in daylight
- At least 2,000 px on the long side, saved as high-quality JPEG
- No filters, borders or watermarks
For AI on-model photos, add
- A size chart
- 1 to 3 reference images of the look you want
Have flat lays or hanger shots but no model photos? Book a call and we'll go through which of your photos can become an on-model photoshoot.